Basic Nextcloud installation on openSUSE Leap
I see the official documentation has full tutorial for RHEL 6 or CentOS 6 and RHEL 7 or CentOS 7. The main documentation covers Ubuntu 14.04 LTS.
This tutorial describes how to install Nextcloud using command line. I followed the official documentation of Ubuntu 14.04 LTS installation.
Why choose openSUSE Leap? openSUSE Leap is a brand new way of building openSUSE and is new type of hybrid Linux distribution. Leap uses source from SUSE Linux Enterprise (SLE), which gives Leap a level of stability unmatched by other Linux distributions, and combines that with community developments to give users, developers and sysadmins the best stable Linux experience available. Contributor and enterprise efforts for Leap bridge a gap between matured packages and newer packages found in openSUSE’s other distribution Tumbleweed. You can download openSUSE Leap from the site https://software.opensuse.org/.
Make sure that ssh (sshd) is enabled and also the firewall either is disabled or make an exception to the apache and ssh services. You can also set a static IP (check out how).
First of all, let’s install the required and recommended modules for a typical Nextcloud installation, using Apache and MariaDB, by issuing the following commands in a terminal:
zypper in apache2 mariadb apache2-mod_php5 php5-gd php5-json php5-fpm php5-mysql php5-curl php5-intl php5-mcrypt php5-zip php5-mbstring php5-zlibCreate Database
Next step, create a database. First of all start the service.
systemctl start mysql.service
systemctl enable mysql.service
The root password is empty by default. That means that you can press enter and you can use your root user. That’s not safe at all. So you can set a password using the command:
mysqladmin -u root password newpassWhere newpass is the password you want.
Now you set the root password, create the database.
mysql -u root -p
(you'll be asked for your root password)

CREATE DATABASE nextcloudb;

GRANT ALL ON nextcloudb.* TO ncuser@localhost IDENTIFIED BY 'dbpass';
Database user: ncuser Database name: nextcloudb Database user password: dbpass
You can change the above information accordingly.
PHP changes
Now you should edit the php.ini file.
nano /etc/php5/apache2/php.inichange the values
post_max_size = 50G
upload_max_filesize = 25G
max_file_uploads = 200
max_input_time = 3600
max_execution_time = 3600
session.gc_maxlifetime = 3600
memory_limit = 512M
and finally enable the extensions.
extension=php_gd2.dll
extension=php_mbstring.dll
Apache Configuration
You should enable some modules. Some might be already enabled.
a2enmod php5
a2enmod rewrite
a2enmod headers
a2enmod env
a2enmod dir
a2enmod mime
Now start the apache service.
systemctl start apache2.service
systemctl enable apache2.service
Install Nextcloud (option 1, preferable)
Before the installation, create the data folder and give the right permissions (preferably outside the server directory for security reasons). I created a directory in the /mnt directory. You can mount a USB disk, add it to fstab and save your data there. The commands are:
mkdir /mnt/nextcloud_data
chmod -R 0770 /mnt/nextcloud_data
chown wwwrun /mnt/nextcloud_data
Now download Nextloud. Then unzip and move the folder to the server directory.
wget https://download.nextcloud.com/server/releases/nextcloud-10.0.1.zip
unzip nextcloud-10.0.1.zip
cp -r nextcloud /srv/www/htdocs
chown -R wwwrun /srv/www/htdocs/nextcloud/
Make sure that everything is OK and then delete the folder nextcloud and nextcloud-10.0.0.zip from the root (user) directory.
Now open your browser to the server IP/nextcloud
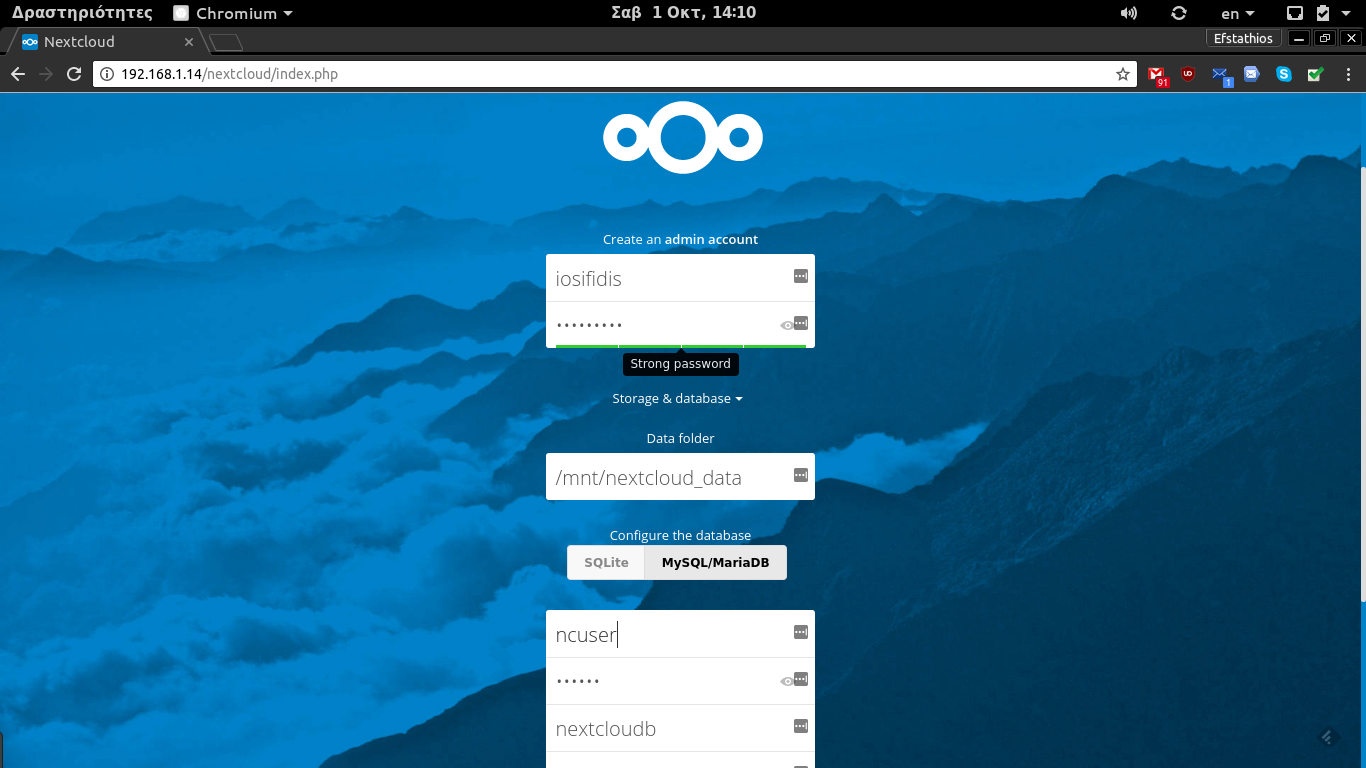
Set your administrator username and password.
Your data directory is: /mnt/nextcloud_data
Regarding database, use the following.
Database user: ncuser
Database name: nextcloudb
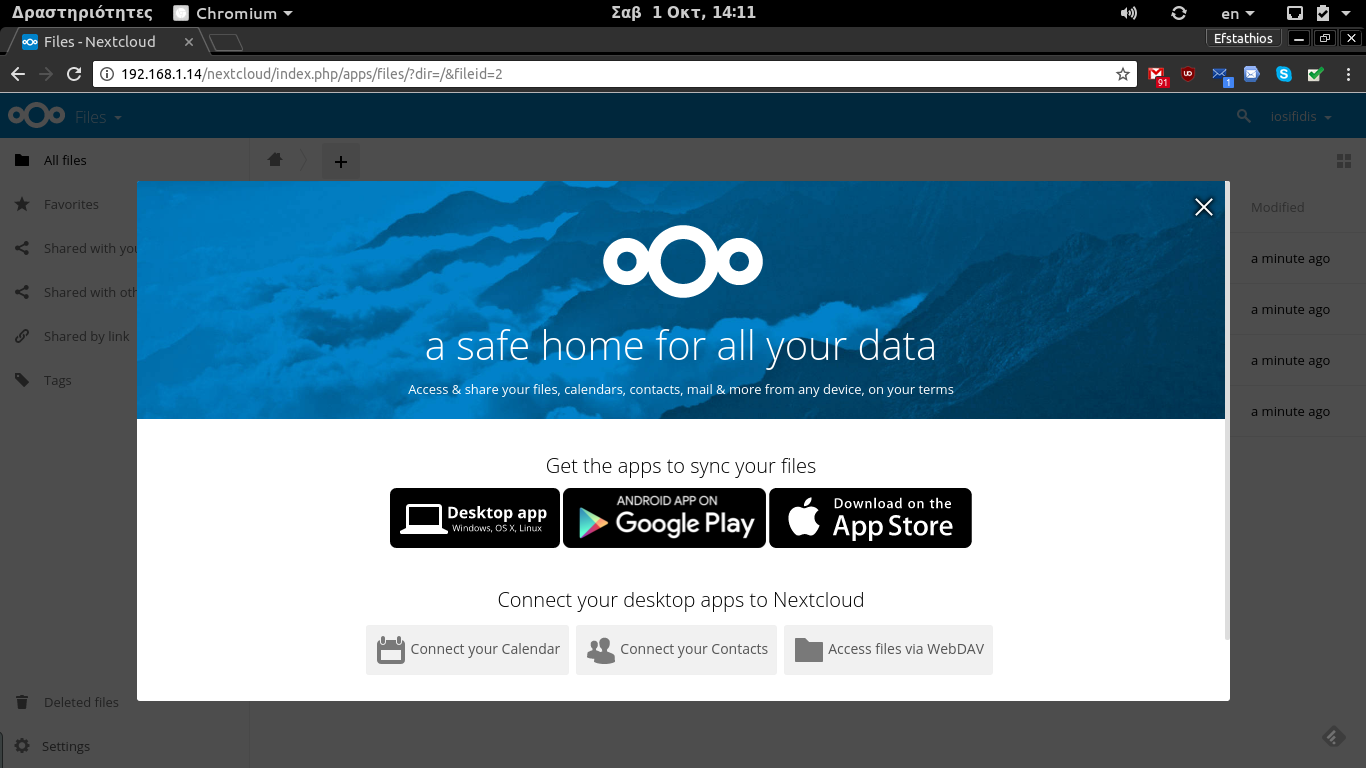
Database user password: dbpassWait until it ends the installation. The page you’ll see is the following.
Install Nextcloud using the respository (option 2)
If you want to have automatic updates of your Nextcloud instance when there’s a new version, you can add the repository. There are packages available for openSUSE Leap 42.1, 42.2 and Tumbleweed (we recommend openSUSE Leap 42.1). You should be an administrator, so you can install Nextloud on your server.
- Add the Nextcloud repository.
openSUSE_Leap_42.2
zypper ar http://download.opensuse.org/repositories/server:/php:/applications/openSUSE_Leap_42.2/ NextcloudopenSUSE_Leap_42.1
zypper ar http://download.opensuse.org/repositories/server:/php:/applications/openSUSE_Leap_42.1/ NextcloudopenSUSE_Leap_Tumbleweed
zypper ar http://download.opensuse.org/repositories/server:/php:/applications/openSUSE_Tumbleweed/ Nextcloud- Refresh your repositories
zypper refresh- Install Nextcloud (be careful you have to install LAMP first and change permissions of the files).
zypper install nextcloudOpen http://serverIP/nextcloud to install your instance (admin user account). Be careful to create another folder with the proper permissions for your data (as described).
Login and use Nextloud.
For more information about Nextcloud on openSUSE, check openSUSE wiki.
For more configuration, you can follow the official documentation. That was the basic installation on openSUSE Leap.

Συγγραφέας
Ευστάθιος Ιωσηφίδης
Solutions Architect | Cloud & Systems Engineer | Open Source Advocate | Digital Transformation Engineer
iefstathios@gmail.com
Σχόλια